Documentation
This is the roadmap I was going follow to acheive my learning goal.

Creating a low-poly car model
Note: While it says I have not taken any research or tutorials, that has later change due to my time limit, so now I'd be working on one car model, with mostly trial and error, until I need help (through researching or watching a specific point in a tutorial).
8/02/2026
I have started creating the car in blender, a free 3D modeling software that anyone can use.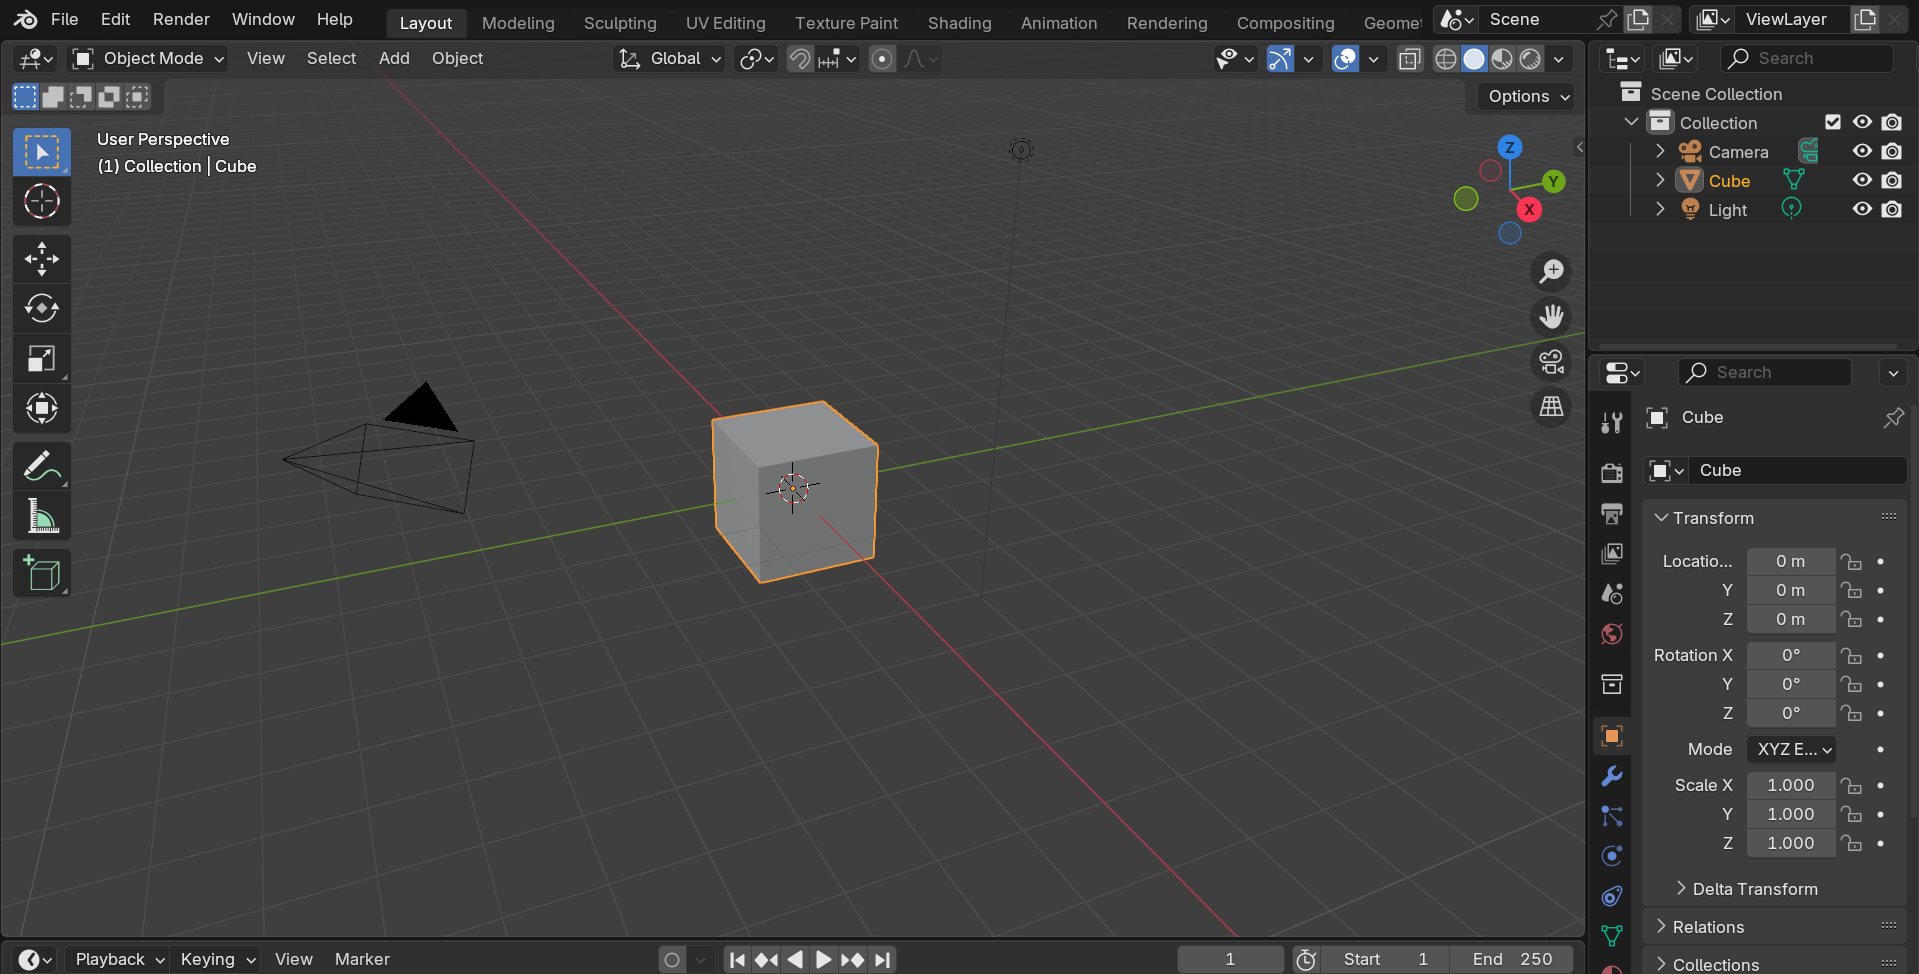
Disclaimer: This image is version 4.3 and I had used blender version 5.0 to start creating the car model.

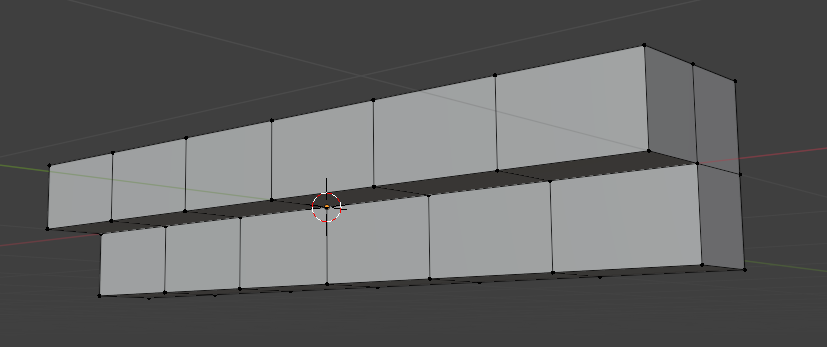
I first went to edit mode in blender, so I can select and edit an object's faces, vertices, and edges, as you can see below.
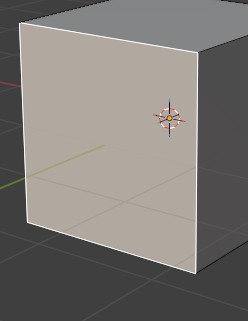
Then I was so focused I forgot to take screenshots, until here.
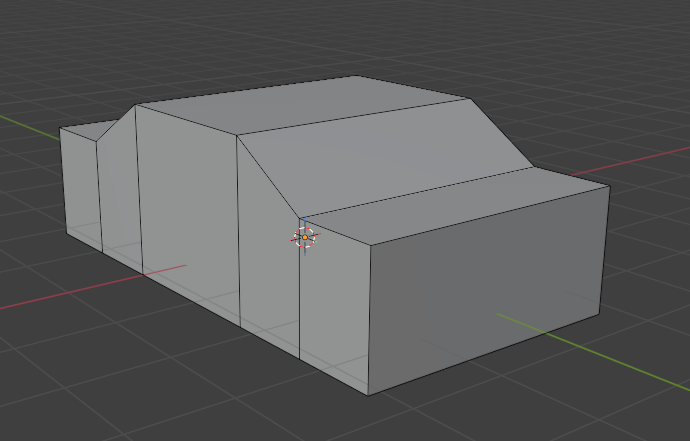
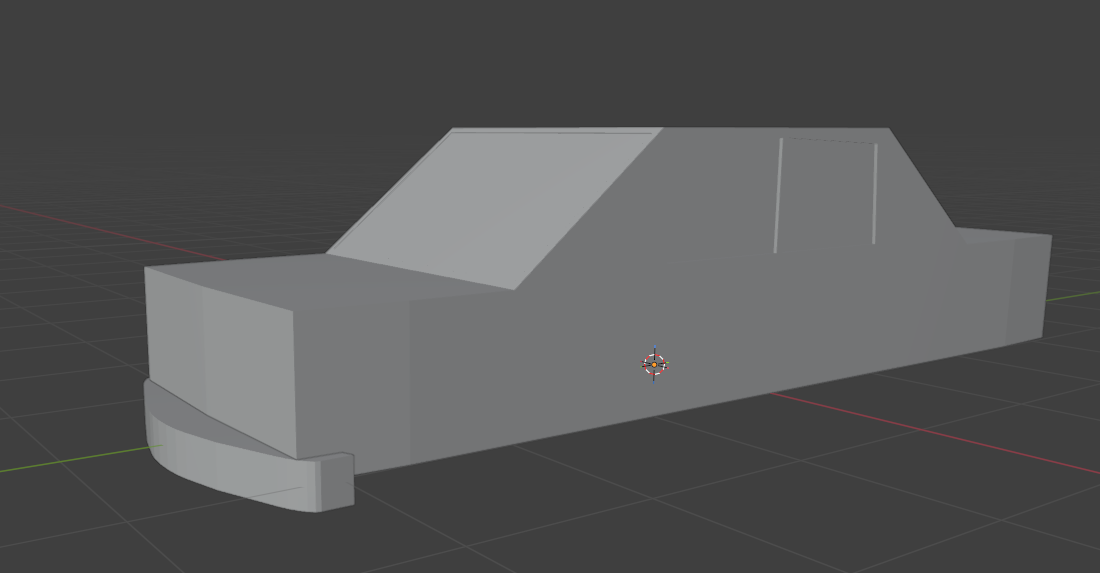
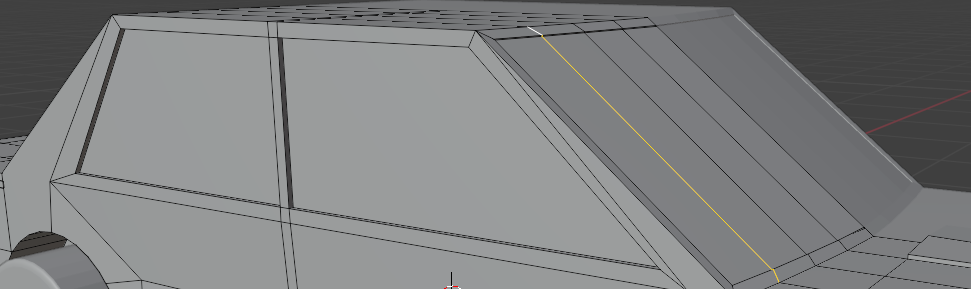
But what I essentially did was resize the cube on the X axis to increase its width, then resized the cube on the Y axis. I added two loop cuts to make the roof, then added a loop cut on the new faces on the back and front faces, before moving the top roof face up on the Z axis to get the base of the car, as shown above.
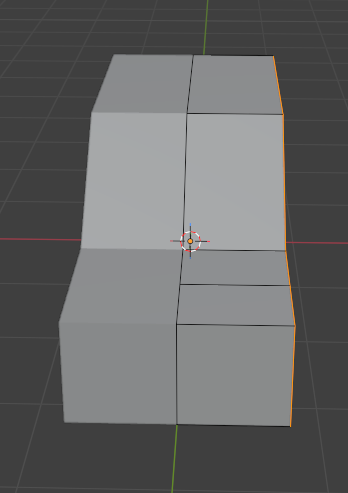
Before I continued, I used the loop cut tool to create edges in the center of the car, then deleted all the faces on one side.
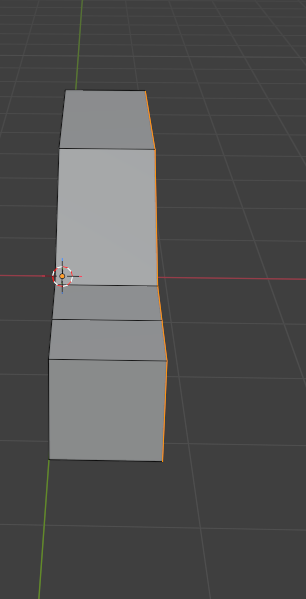
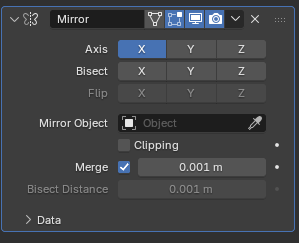
Then used a modifier (which makes shaping objects way easier). The modifier I used is the mirror modifier to copy one side of the car to the other side, so the car is symmetrical until I don't need it.
Then I hid everything and created another cube, to create the front bumper of the car. But again, I was focused, so I didn't take much screenshots of the procress.
And then I edited the bumper to fit the front of the car.
And this marks the end of today's progress.
16/02/2026
Before I did anything, I had exported the car model into a .fbx file, as I had been unable to open the blender file with 4.3 (since I started creating the car model in version 5.0 on my home computer).I have finished working on the shape of the windows and the rear bumper.
I either forgot to screenshot the progress, or the screenshots are on my home PC.
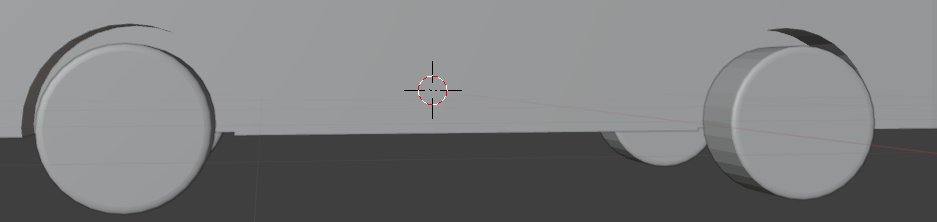
Then, I made the wheels, which were very simple. Just created a cylinder, positioned them how I liked, used bevel on the edges (makes the edges smoother), copied them and moved the duplicates where I wanted to make the other wheels, made another cylinder, made it slightly bigger than the wheels, then copied and positioned them exactly the same position as the wheels.
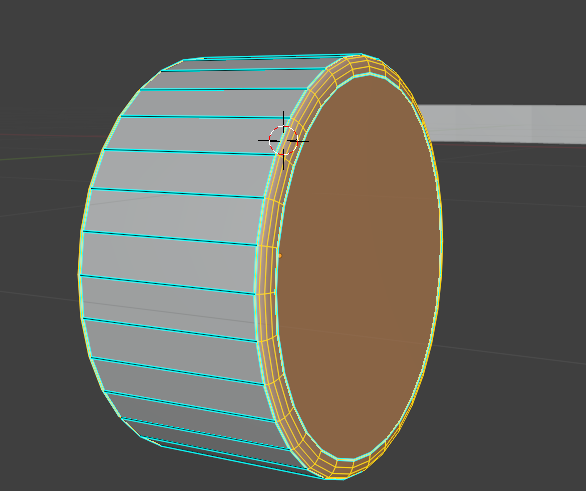
Then I used the boolean modifier with difference, which cuts part of an object using another object overlapping with it. Where it says object in the modifier options, I chose one of the bigger cylinders without the beveled edges, then duplicated the boolean modifier three more times, and selected the other duplicated cylinders.
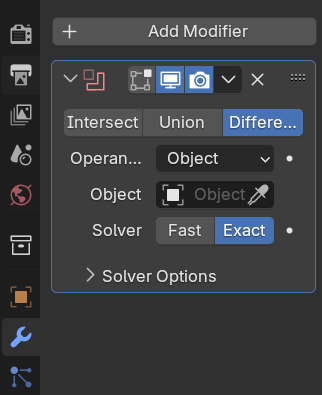
Clicked apply.
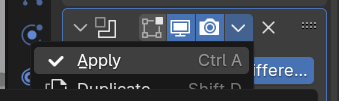
And this is the result.
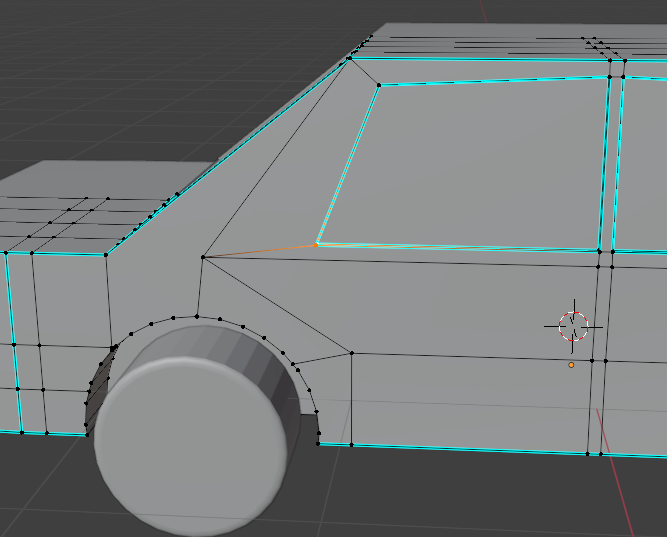
I had also adjusted the windows of the car, since they didn't look very much like a car, even a low-poly one.

While positioning the rear bumper, I found that it wasn't perfectly centered with the car, despite moving it only on the correct axis. I fixed that, and did the same for the front bumper, as it would have had the same problem.
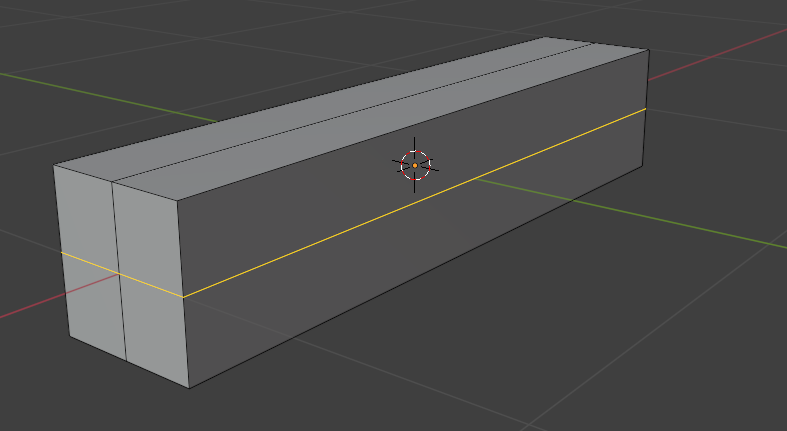
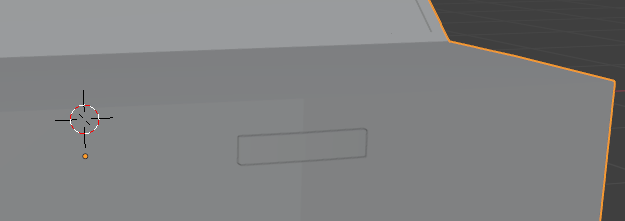
Then, I moved to making the boot. First, I worked on the boot handle. So, I hid everything and made a new cube.
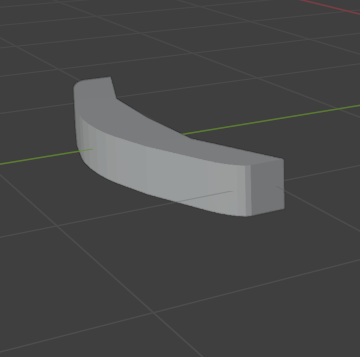
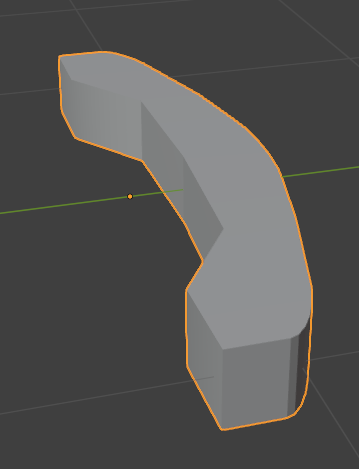
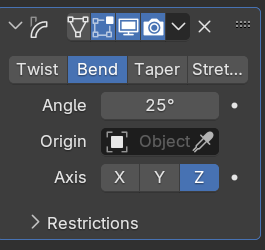
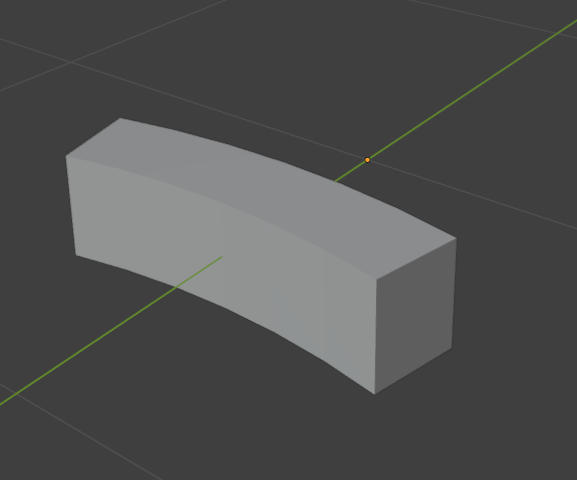
Then I resized it into a rectangular prism shape and added a simple deformation modifier. This let me bend any object by their edges.
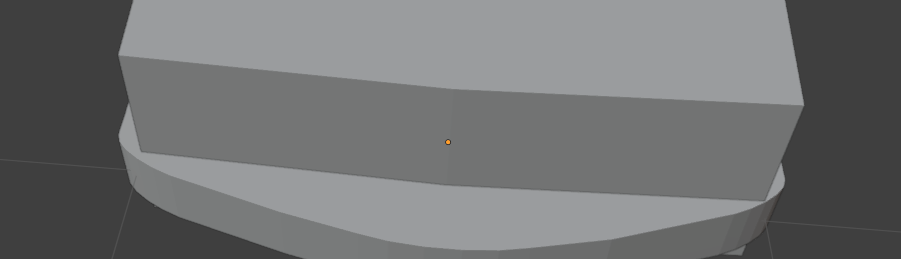
Then I ran into some problems trying to make a gap in a quarter of it, and making new faces, so I restarted this way instead.

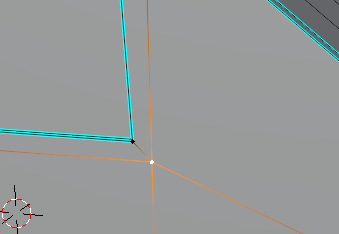
As you can see above, I had used the edge loop cut tool to cut the object into quarters, which allowed me to delete the faces needed, removing a quarter. Then I made new faces frpm the vertices, so the object isn't open. I first did only one face, so it won't create a diagonal face, just in case.

Then I positioned the boot handle on the car rear, and created a sort of boot outline.

End of today's log.
23/02/2026
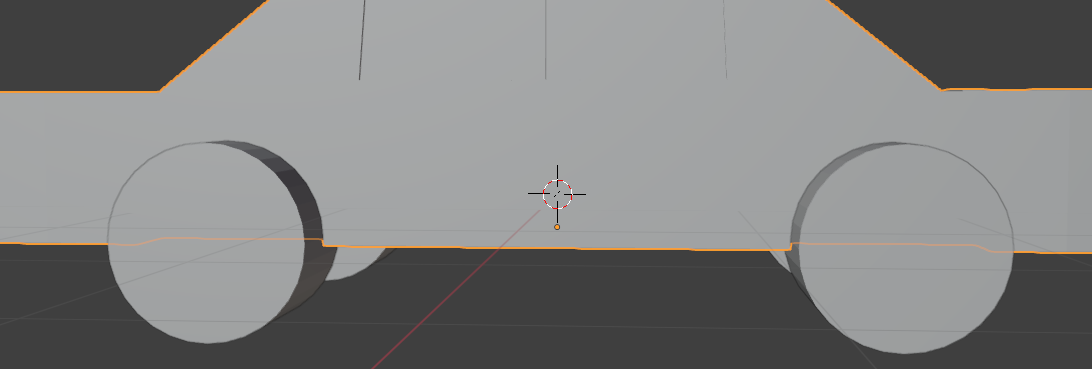
Before I started on the boot and boot handle, I noticed the wheels looked weird not being connected to the car.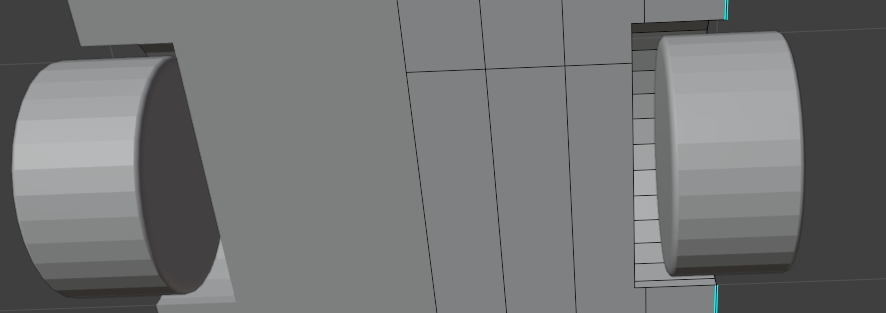
So, I just made simple axles, using cylinders. I turned on the resize tool so it is way easier to resize the cylinder on the y and x axis, to make it thinner.

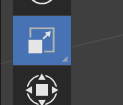
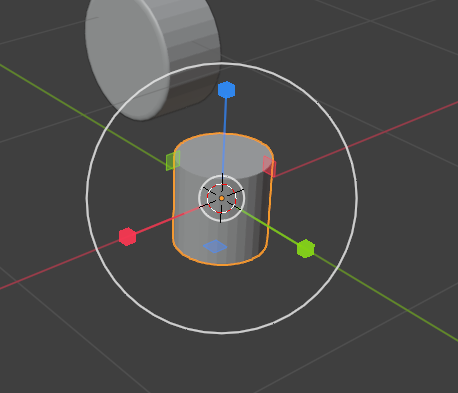
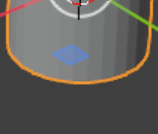
I clicked and dragged the blue square to shrink the cylinder by the x and y axis without adjusting the size by the z axis (I realize pressing the resize shortcut then hold shift and pressing z would select both the y and x axis).
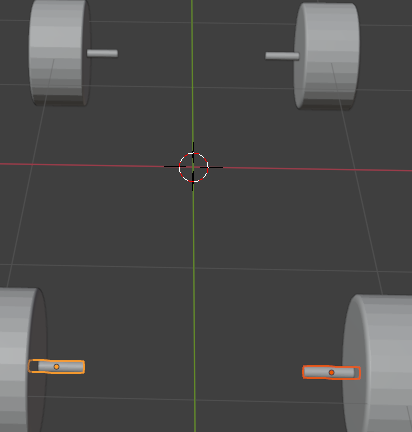
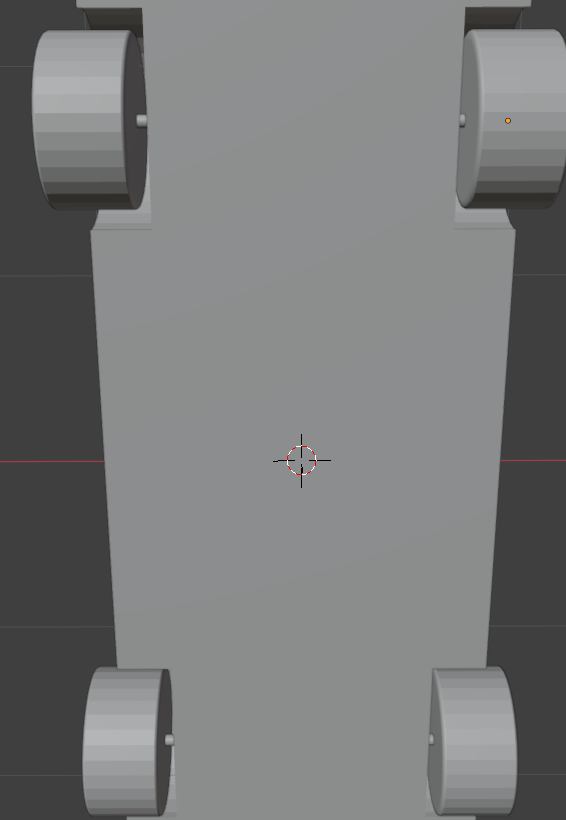
Then rotated 90 degrees so the flatter side would be facing the wheel, then positioned in the centre of the wheel's x axis. Then duplicated and moved the duplicates to their own respective wheels, then unhid the car to see if they fit alright.
I then changed how the windows looked to be more fitting realistically.
End of today's log.
04/03/2026
Next was the car handles. I created a cube and added loopcuts along the sides.
And did the same for the top and bottom. I deleted the faces of on quarter and beveled the edge opposite.
